Message tracking log is one of the excellent feature of the exchange server. Mostly it is used to maintain the record of all the messages that are transferred in the server. Mostly it is used for the forensic use to track the message. One can also use it in troubleshooting the issues.
For configuration the options of Message Tracking, you can use of the command: Set-MailboxServer or Ser-TransportService Cmdlets of PowerShell. Setting that you can configured using these Commands are given below:
To perform the message tracking RBAC permissions described below are required
Step 1: At first, open Exchange Admin center and enter the required credentials. Now click on Mail flow as described below:

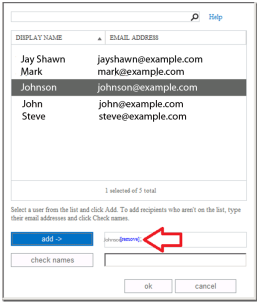
Step 2: Now click on the delivery report from the mail flow, then Search for message sent to and select the mailbox of the user

Step 3: In the figure given above, you will see that mailbox of Johnson is selected. You can also select mailbox of multiple users if you want
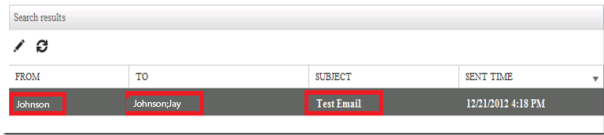
Step 4: In the Box of “Search for these words in the subject line’” type the keywords that you want to search in the subject line.

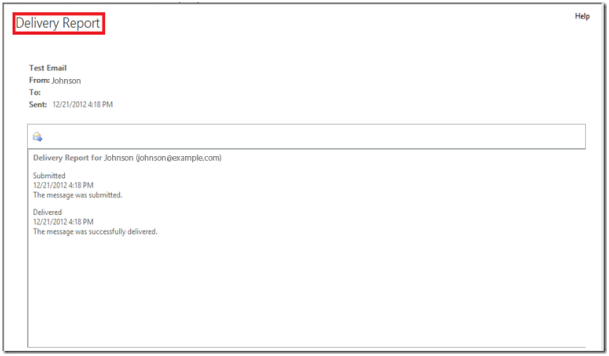
Step 5: Now click on the search option to view the results and to expand the report, double click on it
Step 7: As you click on the option email this report, OWA will open with an attachment of report. You can also view this report by clicking on the option ‘click here’ as shown below. After completing all the section click on ‘Send’ option at the top of the window.

Step 8: Clicking on the send option will send the report to the recipient that you have mentioned earlier. Here in OWA, you can see that the report is sent to the administrator.
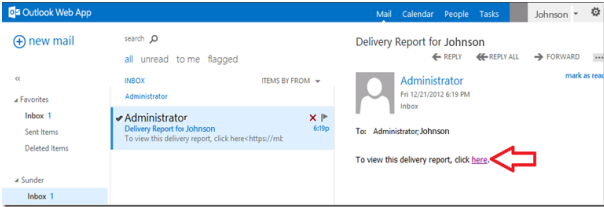
Step 9: Now you can see the delivery report and can sent to the user if it is requesting for the same.