
When we talk about a mailbox in Exchange Server, we have multiple options to choose the type of mailbox: User, Room, Equipment, and Linked. There are four types of mailboxes that can be created in Exchange® and here we are going to talk about Room mailbox and how it can be created in Exchange 2013 using the online Exchange Admin Center.
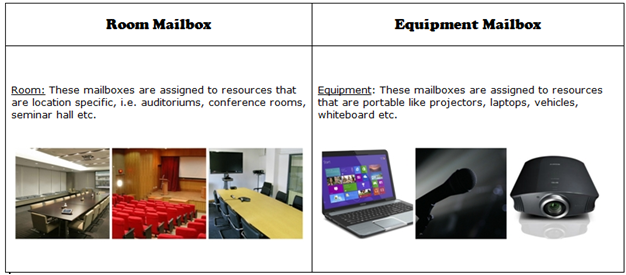
Room mailboxes are also called as Resource mailbox. Generally, they are like user-mailbox only but instead they represent the resources of the company. For example: The conference/meeting room, projector, laptop, company’s vehicle etc. The room mailbox and the equipment mailbox are two different things but collaboratively they are known as Resource mailbox.
Although they are not used to send/receive mailboxes but they prove to a great help in scheduling the company’s mailboxes in a systematic manner. They have the user account added in Active Directory and but it is deactivated. Although the scheduling request are automatically accepted (if there is no clash) but a delegate can be assigned that can manage the calendar for resource mailbox and respond to the requests accordingly.
Exchange Admin Center (EAC) is a web based console that helps to manage the mail items that cannot be managed through the Office 365 admin center. The following section explains how to create a room mailbox for Exchange online services using EAC.
Room Name: Provide a name to the room mailbox here. This name will be available in the resource mailbox list in EAC and the address book of the enterprise.
Email Address: A room mailbox should have an email address to which the scheduling requests will be sent. This should contain an alias followed by the domain name with the “@”sign in between.
Location, Phone, Capacity: Related information to the room can be entered under this section.
Booking Requests: Enable one of the following options to accept booking requests.
Accept or decline booking requests automatically: In this case, if a valid schedule request is received, it will be accepted. In case there is a clash with some other request or the reservation process takes too long, then the request is rejected.
Select delegates who can accept or decline booking requests: In this case only the resource delegate is allowed to take decision about the meeting requests. If there are more than one delegate for the mailbox, only one can act upon the meeting request.
Delegates: If the option is selected to send booking request to the delegates, then it is important that you first add the delegate. For this, click on “Add +” button.
Room mailboxes can be a great help in managing the available resources within an organization. Also, make it a point that a delegate is assigned to take care of valid and on scheduling of resources.